uAdmin Tutorial Part 12 - Introduction to HTML Template
In this part, we will discuss about designing a table in HTML and setting up a template file.
Before you proceed, make sure you have at least the basic knowledge of HTML. If you are not familiar with HTML, we advise you to go over W3Schools.
In this tutorial, we will use Bootstrap 5.
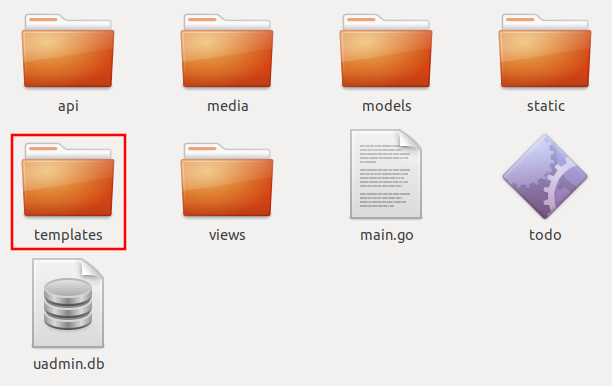
First of all, go to your project folder and select templates.
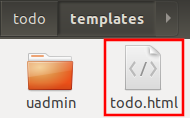
Inside the templates folder, create a new file named todo.html.
Inside the todo.html, create an HTML5 structure following the codes below and change the title from Document to Todo List.
<!DOCTYPE html>
<html lang="en">
  <head>
    <meta charset="UTF-8">
    <meta name="viewport" content="width=device-width, initial-scale=1.0">
    <meta http-equiv="X-UA-Compatible" content="ie=edge">

    <!-- Latest compiled and minified CSS -->
    <link href="https://cdn.jsdelivr.net/npm/bootstrap@5.1.1/dist/css/bootstrap.min.css" rel="stylesheet" integrity="sha384-F3w7mX95PdgyTmZZMECAngseQB83DfGTowi0iMjiWaeVhAn4FJkqJByhZMI3AhiU" crossorigin="anonymous">

    <!-- Change the title from Document to Todo List -->
    <title>Todo List</title>
  </head>
  <body>

  </body>
</html>
Save the file. Run your application in the browser and see what happens.

The title bar is named as Todo List. Now inside the <body> tag, create a table header following the code structure below. You can choose which class of Bootstrap table that you want to display in your application. In this tutorial, we will use table-striped.
<div class="container-fluid">
  <table class="table table-striped">
    <!-- Todo Fields -->
    <thead>
      <tr>
        <th>Name</th>
        <th>Description</th>
        <th>Category</th>
        <th>Friend</th>
        <th>Item</th>
        <th>Target Date</th>
        <th>Progress</th>
      </tr>
    </thead>
    <tbody>

    </tbody>
  </table>
</div>
Save the file. Run your application in the browser and see what happens.

Nice! Now go back to your project folder then select views.

Inside the views folder, create a new file named view.go.

Click here to view our progress so far.
In the next part, we will talk about establishing a connection to the HTTP Handler, setting the URL path name, and executing an HTML file.