uAdmin Tutorial Part 2 - Internal vs. External Models
In this part, we will discuss about the difference between internal and external models.
Internal Models
Internal models are models inside your main.go and don’t have their .go file, they are useful if you want to make something quick.
The code below is an example of internal model:
package main

import (
    "time"
    "github.com/uadmin/uadmin"
)

// Internal model with the model name of "Todo"
type Todo struct {
    uadmin.Model
    Name        string
    Description string `uadmin:"html"`
    TargetDate  time.Time
    Progress    int `uadmin:"progress_bar"`
}

func main() {
    uadmin.Register(
        Todo{}, // Register the Todo model
    )
    uadmin.StartServer()
}
External Models
External models are models outside of main.go and have their own .go file. Placing a model struct in an external Go file has several advantages over internal ones:
- Easily readable in coding
- Scalability for large size projects
- Minimize code conflicts for the development team
- Relevance for development (e.g. All registers are located in the models folder. Other functionalities are located in the related folders.)
Let’s create a new file for an external model named todo.go with the following codes below:
package models

import (
    "time"

    "github.com/uadmin/uadmin"
)

// Todo Model !
type Todo struct {
    uadmin.Model
    Name        string
    Description string `uadmin:"html"`
    TargetDate  time.Time
    Progress    int `uadmin:"progress_bar"`
}
Now register the model on main.go where models is the package name and Todo is the model name:
package main

import (
    // Specify the username that you used inside github.com folder
    "github.com/username/todo/models"

    "github.com/uadmin/uadmin"
)

func main() {
    uadmin.Register(
        models.Todo{}, // <-- place it here
    )

    uadmin.StartServer()
}
Run your application. As expected, the Todo model was added in the uAdmin Dashboard.
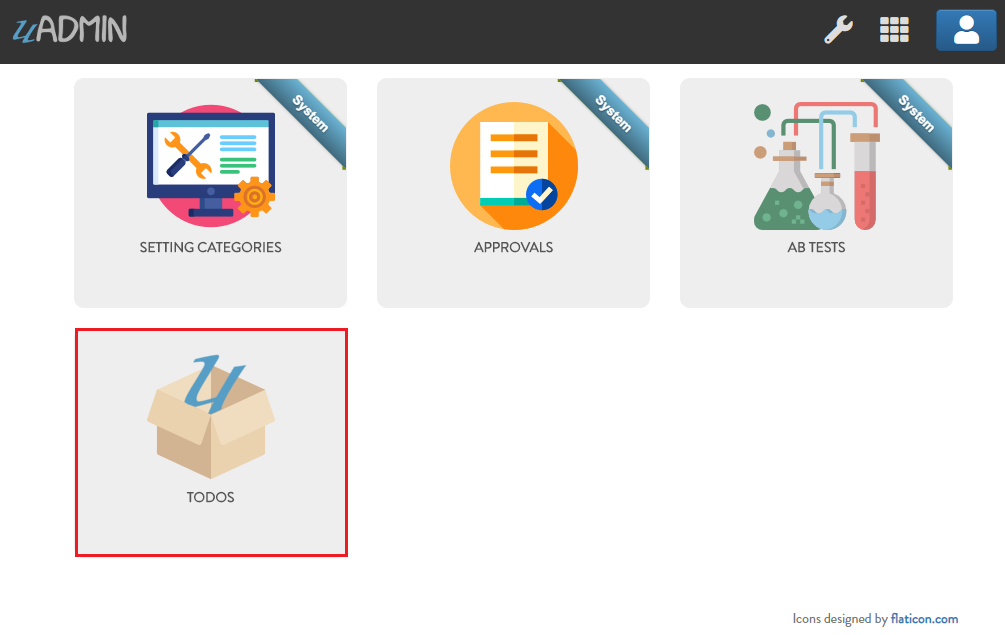
Click Add New TODO.

Fill up the fields as shown in the example below.
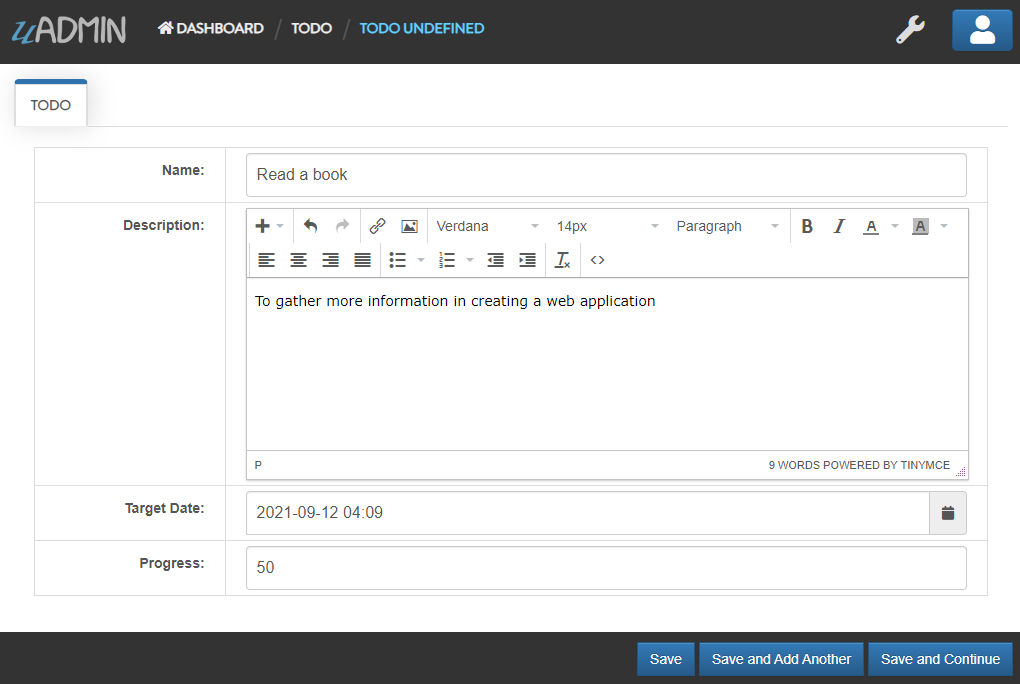
Save it and new data will be added to your model.
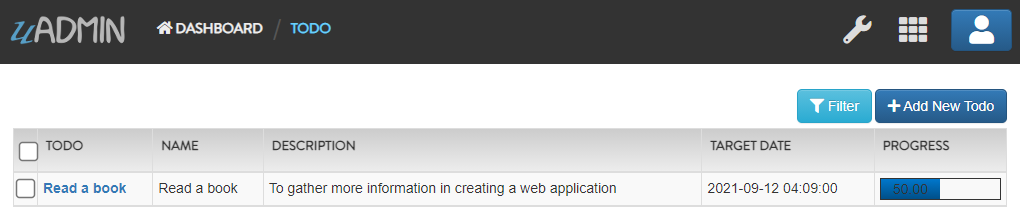
Congrats, now you know how to create an external model and adding a new data in the model through the server.
Click here to view our progress so far.
In the next part we will talk about cropping an image on the image type tag field in the model.