Basic Functions
In this section, we will cover the following functions in-depth listed below:
- uadmin.DisableAdminUI
- uadmin.FavIcon
- uadmin.Logo
- uadmin.MaxImageHeight
- uadmin.MaxImageWidth
- uadmin.MaxUploadFileSize
- uadmin.PageLength
- uadmin.RetainMediaVersions
- uadmin.RootURL
- uadmin.SiteName
- uadmin.ServerReady
- uadmin.StartServer
- uadmin.Theme
uadmin.DisableAdminUI
var DisableAdminUI = false
DisableAdminUI disables access to the UI and all related APIs.
uadmin.FavIcon
// Type: string
var FavIcon = "/static/uadmin/favicon.ico"
FavIcon is the fav icon that shows on uAdmin UI.
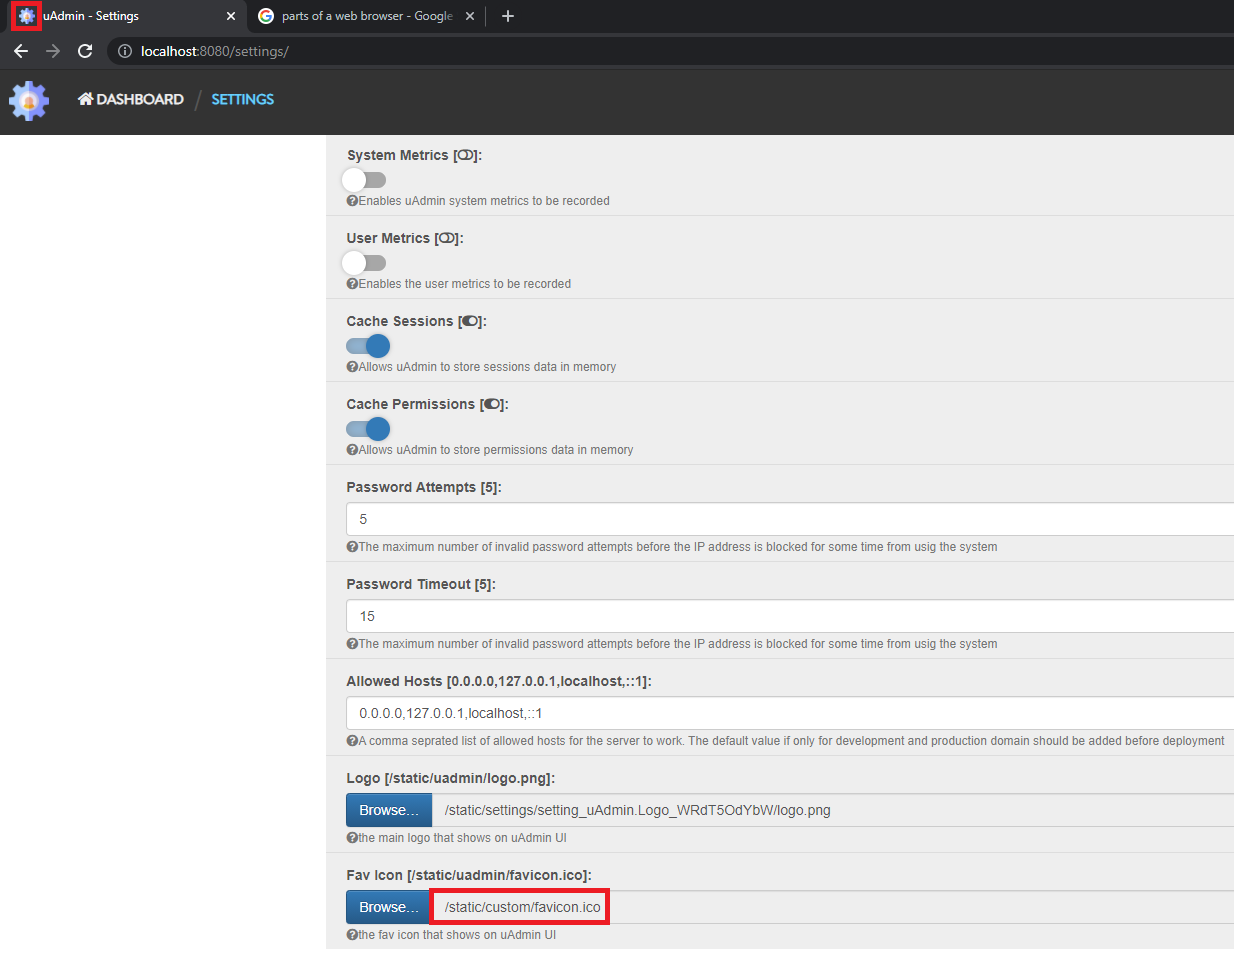
To assign a value within an application, visit Fav Icon page for an example.
To assign a value in the code, follow this approach supposedly you have favicon.ico in your custom folder:
func main() {
    // NOTE: This code works only if database does not exist yet.
    uadmin.FavIcon = "/static/custom/favicon.ico"

    // ----- IF YOU RUN YOUR APPLICATION AGAIN, DO THIS BELOW -----

    // Assign the Fav Icon value to the path where favicon.ico is located.
    setting := uadmin.Setting{}
    uadmin.Get(&setting, "code = ?", "uAdmin.FavIcon")
    setting.ParseFormValue([]string{"/static/custom/favicon.ico"})
    setting.Save()
}
Run your application. As you can see, the favicon has been applied in the tab.
uadmin.Logo
// Type: string
var Logo = "/static/uadmin/logo.png"
Logo is the main logo that shows on uAdmin UI.
To assign a value within an application, visit Logo page for an example.
To assign a value in the code, follow this approach supposedly you have logo.png in your custom folder:
func main() {
    // NOTE: This code works only if database does not exist yet.
    uadmin.Logo = "/static/custom/logo.png"

    // ----- IF YOU RUN YOUR APPLICATION AGAIN, DO THIS BELOW -----

    // Assign the Logo value to the path where logo.png is located.
    setting := uadmin.Setting{}
    uadmin.Get(&setting, "code = ?", "uAdmin.Logo")
    setting.ParseFormValue([]string{"/static/custom/logo.png"})
    setting.Save()
}
Run your application. As you can see, the logo has been applied in the navigation tab.
uadmin.MaxImageHeight
// Type: int
var MaxImageHeight = 600
MaxImageHeight sets the maximum height of an image.
To assign a value within an application, visit Max Image Height page for an example.
To assign a value in the code, visit uadmin.MaxImageWidth page for the example.
uadmin.MaxImageWidth
// Type: int
var MaxImageWidth = 800
MaxImageWidth sets the maximum width of an image.
To assign a value within an application, visit Max Image Width page for an example.
To assign a value in the code, follow this approach:
Let’s set the MaxImageWidth to 360 pixels and the MaxImageHeight to 240 pixels.
func main() {
    // NOTE: This code works only if database does not exist yet.
    uadmin.MaxImageWidth = 360
    uadmin.MaxImageHeight = 240

    // ----- IF YOU RUN YOUR APPLICATION AGAIN, DO THIS BELOW -----

    // Assign the Max Image Width value to 360 pixels
    setting := uadmin.Setting{}
    uadmin.Get(&setting, "code = ?", "uAdmin.MaxImageWidth")
    setting.ParseFormValue([]string{"360"})
    setting.Save()

    // Assign the Max Image Height value to 240 pixels
    setting := uadmin.Setting{}
    uadmin.Get(&setting, "code = ?", "uAdmin.MaxImageHeight")
    setting.ParseFormValue([]string{"240"})
    setting.Save()
}
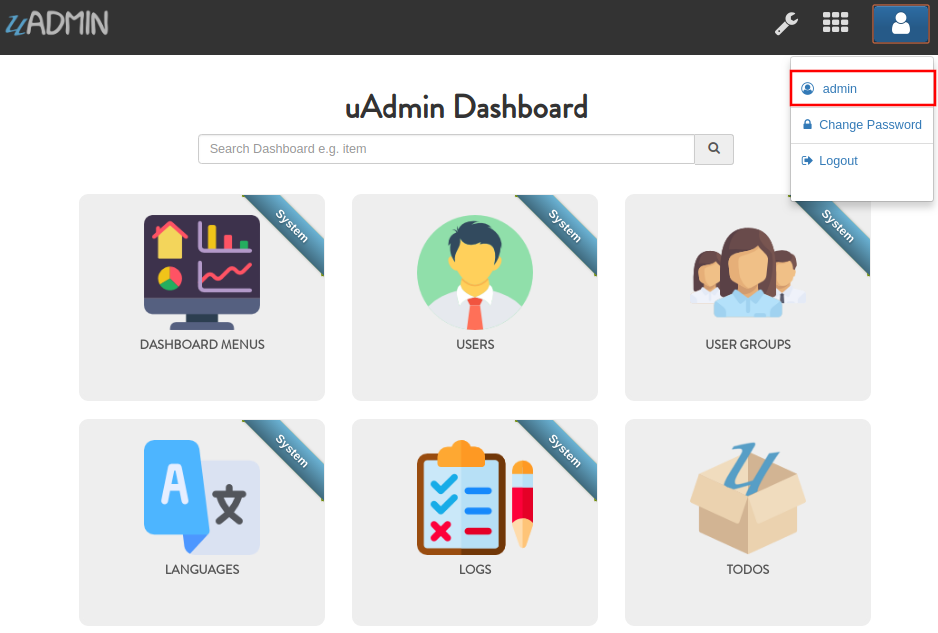
uAdmin has a feature that allows you to customize your own profile. In order to do that, click the profile icon on the top right corner then select admin as highlighted below.
By default, there is no profile photo inserted on the top left corner. If you want to add it in your profile, click the Choose File button to browse the image on your computer.
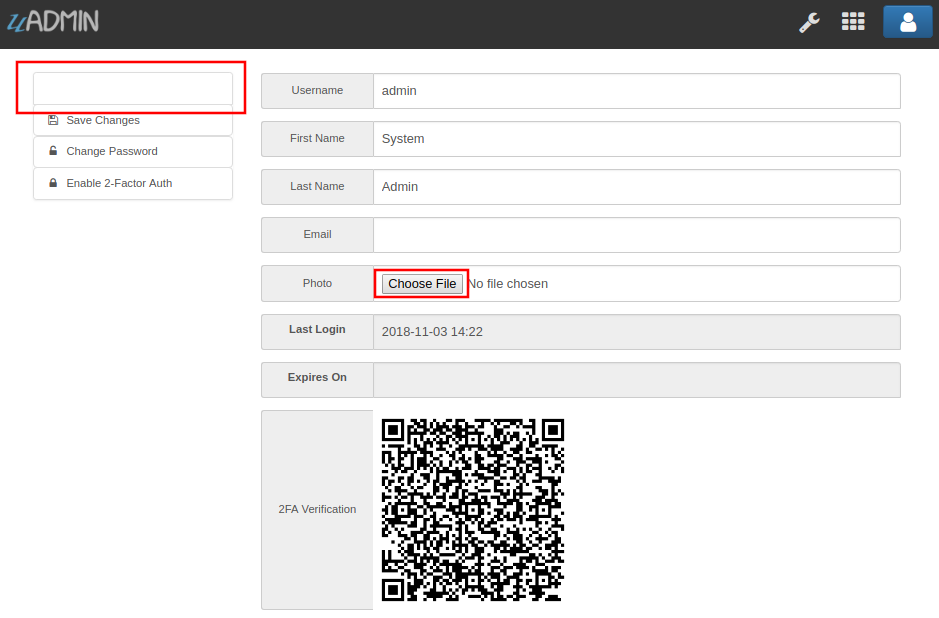
Let’s pick a photo that surpasses the MaxImageWidth and MaxImageHeight values.

Once you are done, click Save Changes on the left corner and refresh the webpage to see the output.
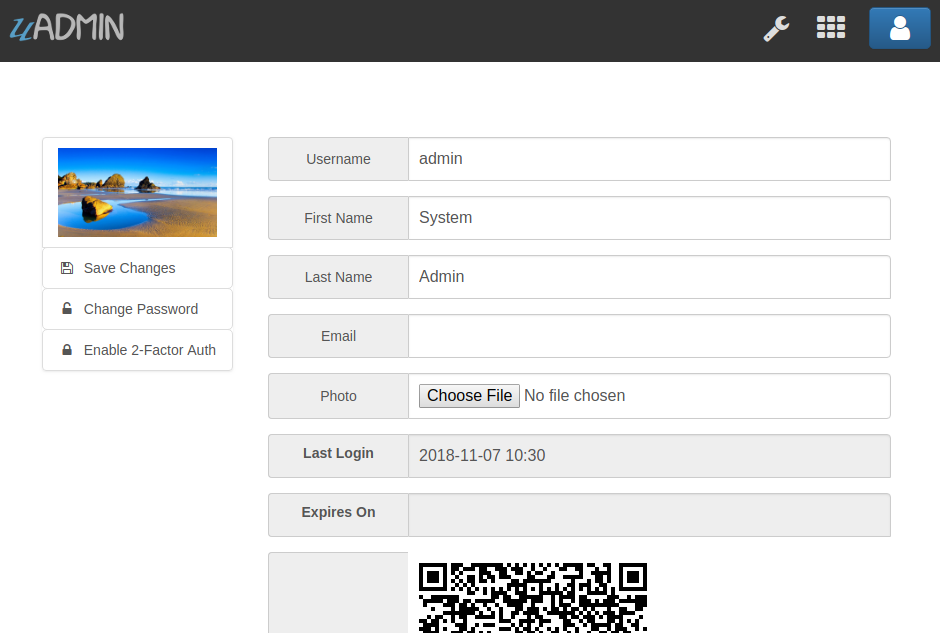
As expected, the profile pic will be uploaded to the user profile that automatically resizes to 360x240 pixels.
Quiz:
uadmin.MaxUploadFileSize
// Type: int64
var MaxUploadFileSize = int64(25 * 1024 * 1024)
MaxUploadFileSize is the maximum upload file size in kilobytes.
To assign a value within an application, visit Max Upload File Size page for an example.
To assign a value in the code, follow this approach:
Go to the main.go. Let’s set the MaxUploadFileSize value to 1 MB. It is 1 multiplied by 1024 (Kilobytes) multiplied by 1024 (Bytes).
func main() {
    // Some codes

    // NOTE: This code works only if database does not exist yet.
    uadmin.MaxUploadFileSize = int64(1 * 1024 * 1024)

    // ----- IF YOU RUN YOUR APPLICATION AGAIN, DO THIS BELOW -----

    // Multiply 1 megabyte, 1024 kilobytes, and 1024 bytes then convert it
    // to a string
    uadmin.MaxUploadFileSize = int64(1 * 1024 * 1024)
    maxUploadFileSize := strconv.Itoa(int(uadmin.MaxUploadFileSize))

    // Assign the Max Image Width value in the Setting
    setting := uadmin.Setting{}
    uadmin.Get(&setting, "code = ?", "uAdmin.MaxUploadFileSize")
    setting.ParseFormValue([]string{maxUploadFileSize})
    setting.Save()
}
Run the application, go to your profile and upload an image that exceeds the MaxUploadFileSize limit. If you click Save changes…
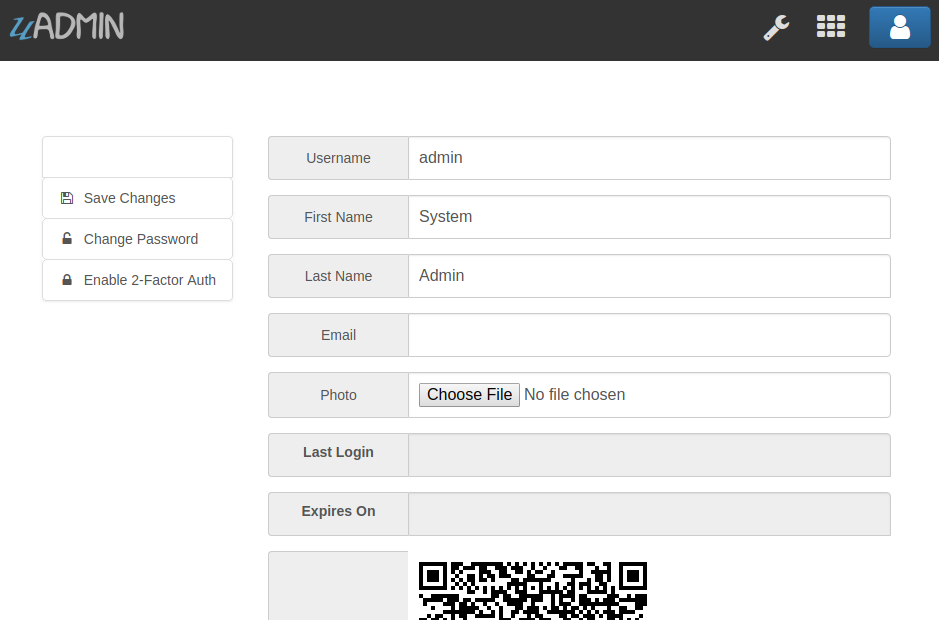
The profile picture has failed to upload in the user profile because the file size is larger than the limit.
Quiz:
uadmin.PageLength
// Type: int
var PageLength = 100
PageLength is the list view max number of records.
To assign a value within an application, visit Page Length page for an example.
To assign a value in the code, follow this approach:
Go to the main.go and apply the PageLength function.
func main() {
    // Some codes

    // NOTE: This code works only if database does not exist yet.
    uadmin.PageLength = 4

    // ----- IF YOU RUN YOUR APPLICATION AGAIN, DO THIS BELOW -----

    // Assign the Page Length value to 4
    setting := uadmin.Setting{}
    uadmin.Get(&setting, "code = ?", "uAdmin.PageLength")
    setting.ParseFormValue([]string{"4"})
    setting.Save()
}
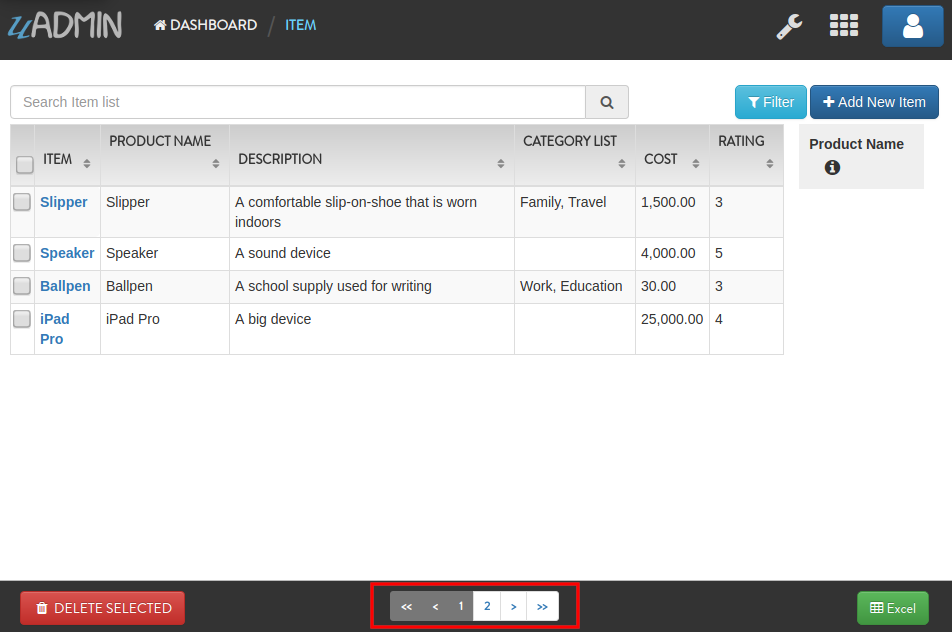
Run your application, go to the Item model, inside it you have 6 total elements. The elements in the item model will display 4 elements per page.
Quiz:
uadmin.RetainMediaVersions
// Type: bool
var RetainMediaVersions = true
RetainMediaVersions is to allow the system to keep files uploaded even after they are changed. This allows the system to “Roll Back” to an older version of the file.
To assign a value within an application, visit Retain Media Versions page for an example.
To assign a value in the code, follow this approach:
Go to the main.go and set the status of the RetainMediaVersions to false.
func main() {
    // Some codes
    uadmin.RetainMediaVersions = false
}
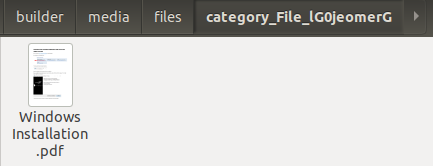
Run your application, go to the Category model and click Add New Category button on the top right corner of the screen. Let’s add a new record that includes the uploaded file from your computer (e.g. Windows Installation.pdf).
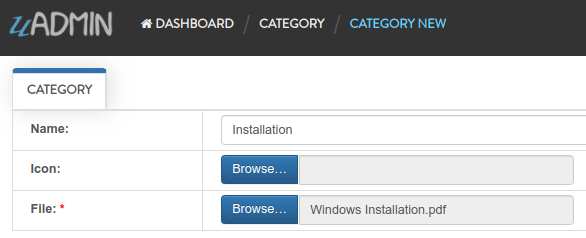
Result:

From your project folder, go to /media/files/(generated_folder_name)/. As expected, the “Windows Installation.pdf” file was saved on that path.
Go back to your application and click the existing record that you have (e.g. Installation).
Now update the file on that record (e.g. PDF file to ODT file).
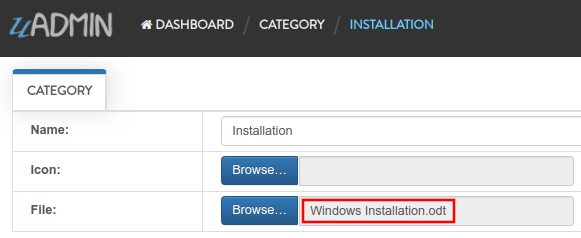
Result:

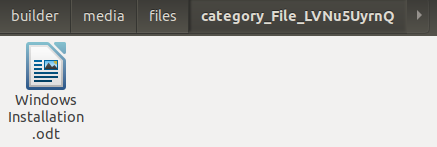
From your project folder, go to /media/files/(generated_folder_name)/. As expected, the “Windows Installation.pdf” file was updated from “Windows Installation.pdf” to “Windows Installation.odt” on the same folder.
Exit your application and go to the main.go. This time, set the status of the RetainMediaVersions to true.
func main() {
    // NOTE: This code works only if database does not exist yet.
    uadmin.RetainMediaVersions = true

    // ----- IF YOU RUN YOUR APPLICATION AGAIN, DO THIS BELOW -----

    // Assign the Retain Media Versions value to true
    setting := uadmin.Setting{}
    uadmin.Get(&setting, "code = ?", "uAdmin.RetainMediaVersions")
    setting.ParseFormValue([]string{"true"})
    setting.Save()
}
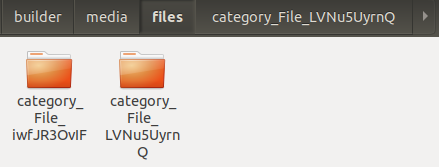
Run your application and go to the Category model. Update the file of the Installation record back to PDF.
Result:
From your project folder, go to /media/files/ path. Inside it, there are two generated folders that means the old version of the file is kept and the new version was saved in the different folder.
Quiz:
uadmin.RootURL
// Type: string
var RootURL = "/"
RootURL is where the listener is mapped to.
Used in the tutorial:
To assign a value within an application, visit Root URL page for an example.
To assign a value in the code, follow this approach:
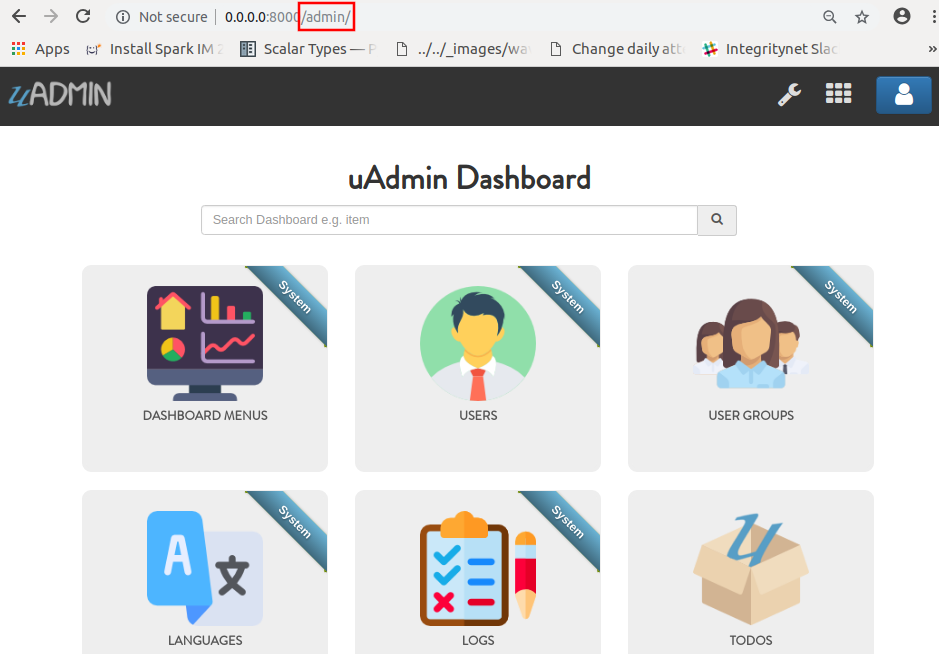
Go to the main.go and assign the RootURL value as /admin/.
func main() {
    // Some codes

    // NOTE: This code works only if database does not exist yet.
    uadmin.RootURL = "/admin/"

    // ----- IF YOU RUN YOUR APPLICATION AGAIN, DO THIS BELOW -----

    // Assign the Root URL value to /admin/
    setting := uadmin.Setting{}
    uadmin.Get(&setting, "code = ?", "uAdmin.RootURL")
    setting.ParseFormValue([]string{"/admin/"})
    setting.Save()


}
Result
Quiz:
uadmin.SiteName
// Type: string
var SiteName = "uAdmin"
SiteName is the name of the website that shows on title and dashboard.
Used in the tutorial:
- Document System Tutorial Part 1 - Build A Project
- Login System Tutorial Part 1 - Build A Project
- uAdmin Tutorial Part 17 - Wrapping Up Your Application
To assign a value within an application, visit Site Name page for an example.
To assign a value in the code, follow this approach:
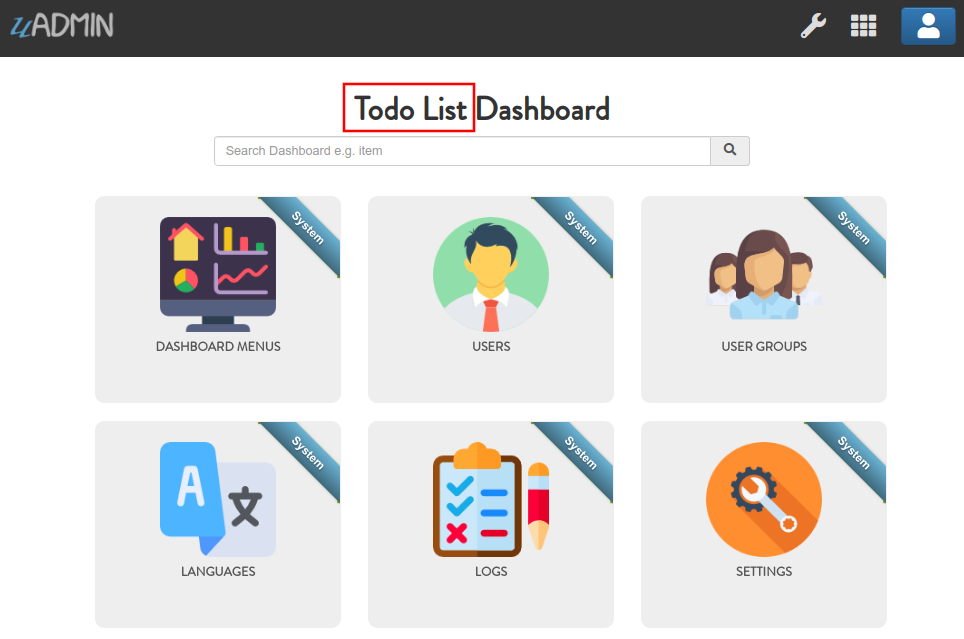
Go to the main.go and assign the SiteName value as Todo List.
func main() {
    // Some codes

    // NOTE: This code works only if database does not exist yet.
    uadmin.SiteName = "Todo List"

    // ----- IF YOU RUN YOUR APPLICATION AGAIN, DO THIS BELOW -----

    // Assign the Site Name value to "Todo List"
    setting := uadmin.Setting{}
    uadmin.Get(&setting, "code = ?", "uAdmin.SiteName")
    setting.ParseFormValue([]string{"Todo List"})
    setting.Save()
}
Run your application and see the changes above the web browser.
Quiz:
uadmin.ServerReady
// Type: bool
var ServerReady = false
ServerReady is a variable that is set to true once the server is ready to use.
uadmin.StartServer
func StartServer()
StartServer is the process of activating a uAdmin server using a localhost IP or an apache.
Used in the tutorial:
- Document System Tutorial Part 1 - Build A Project
- Login System Tutorial Part 1 - Build A Project
- uAdmin Tutorial Part 2 - Internal vs. External Models
- uAdmin Tutorial Part 4 - Linking Models
- uAdmin Tutorial Part 6 - Applying uAdmin Tags
Go to the main.go and put uadmin.StartServer() inside the main function.
func main() {
    // Some codes
    uadmin.StartServer() // <-- place it here
}
Now to run your code:
$ go build; ./todo
[   OK   ]   Initializing DB: [13/13]
[   OK   ]   Initializing Languages: [185/185]
[  INFO  ]   Auto generated admin user. Username: admin, Password: admin.
[   OK   ]   Synching System Settings: [51/51]
[   OK   ]   Server Started: http://0.0.0.0:8080
         ___       __          _
  __  __/   | ____/ /___ ___  (_)___
 / / / / /| |/ __  / __  __ \/ / __ \
/ /_/ / ___ / /_/ / / / / / / / / / /
\__,_/_/  |_\__,_/_/ /_/ /_/_/_/ /_/
Quiz:
uadmin.Theme
// Type: string
var Theme = "default"
Theme is the name of the theme used in uAdmin.
To assign a value within an application, visit Theme page for an example.
To assign a value in the code, follow this approach:
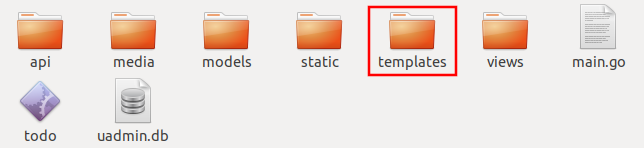
From your project folder, click on “templates”.
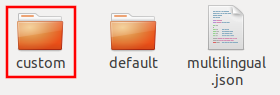
Inside templates, click on “uadmin”.

Create a new folder named “custom”.
Inside custom folder, create a new file named “home.html”.

Inside home.html file, apply the following codes below to display a header that shows “Welcome to Home Page”.
<!DOCTYPE html>
<html lang="en">
<head>
    <meta charset="UTF-8">
    <meta name="viewport" content="width=device-width, initial-scale=1.0">
    <meta http-equiv="X-UA-Compatible" content="ie=edge">
    <title>Home Page</title>
</head>
<body>
    <h1>Welcome to Home Page</h1>
</body>
</html>
Now go to main.go and apply the Theme function that assigns the custom folder.
func main() {
    // Some codes

    // NOTE: This code works only if database does not exist yet.
    uadmin.Theme = "custom"

    // ----- IF YOU RUN YOUR APPLICATION AGAIN, DO THIS BELOW -----

    // "custom" is the name of the folder inside the templates/uadmin path
    // that uAdmin will run when the user starts the server
    setting := uadmin.Setting{}
    uadmin.Get(&setting, "code = ?", "uAdmin.Theme")
    setting.ParseFormValue([]string{"custom"})
    setting.Save()
}
Run your application to see the result.
Quiz: